What Does Professional Water Tank Cleaning Actually Involve? A Step-by-Step Guide for Bangalore Residents
Most people book a tank cleaning and then leave the house for the day. Fair enough, it's not exactly a spectator sport. But if you've ever wondered what your money is actually paying for, or whether the guy who showed up did a proper job, this is what should be happening inside that tank while you're not watching.
Why the process matters more than the price
A lot of homeowners compare quotes and pick whoever's cheapest. That's a mistake. Tank cleaning isn't just scooping out visible sludge with a bucket. Done properly, it's a sequence of mechanical and chemical steps designed to remove biofilm, a slimy bacterial layer that clings to tank walls and doesn't wash off with plain water.
Biofilm forms because stored water, even clean BWSSB or borewell water, sits still for days. Stagnation lets algae spores and bacteria settle and multiply on the inner surface. If your cleaner skips the scrubbing step and just drains and refills, that layer stays put and reseeds the water within a week. This is why it's worth booking a proper water tank and sump cleaning service rather than a rushed drain-and-refill job.
Step 1: Inspection before a drop of water is touched
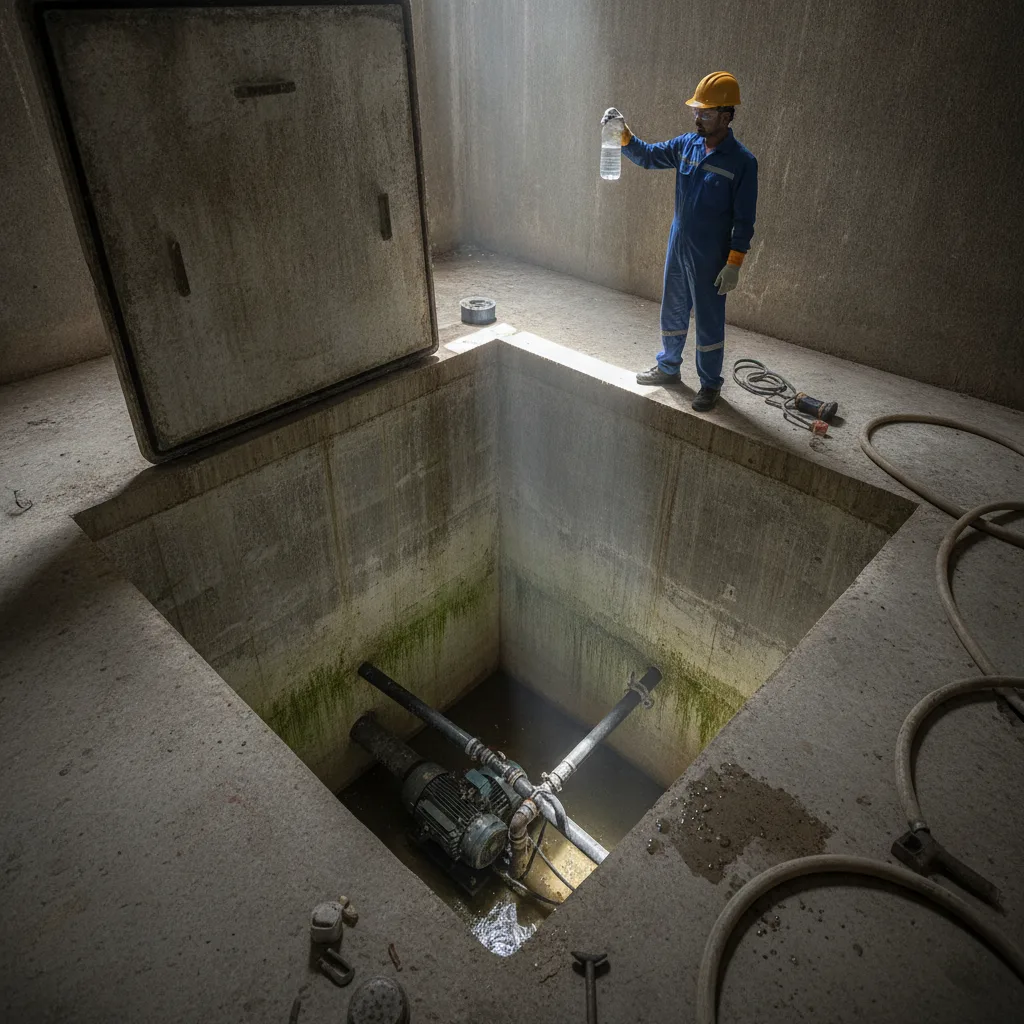
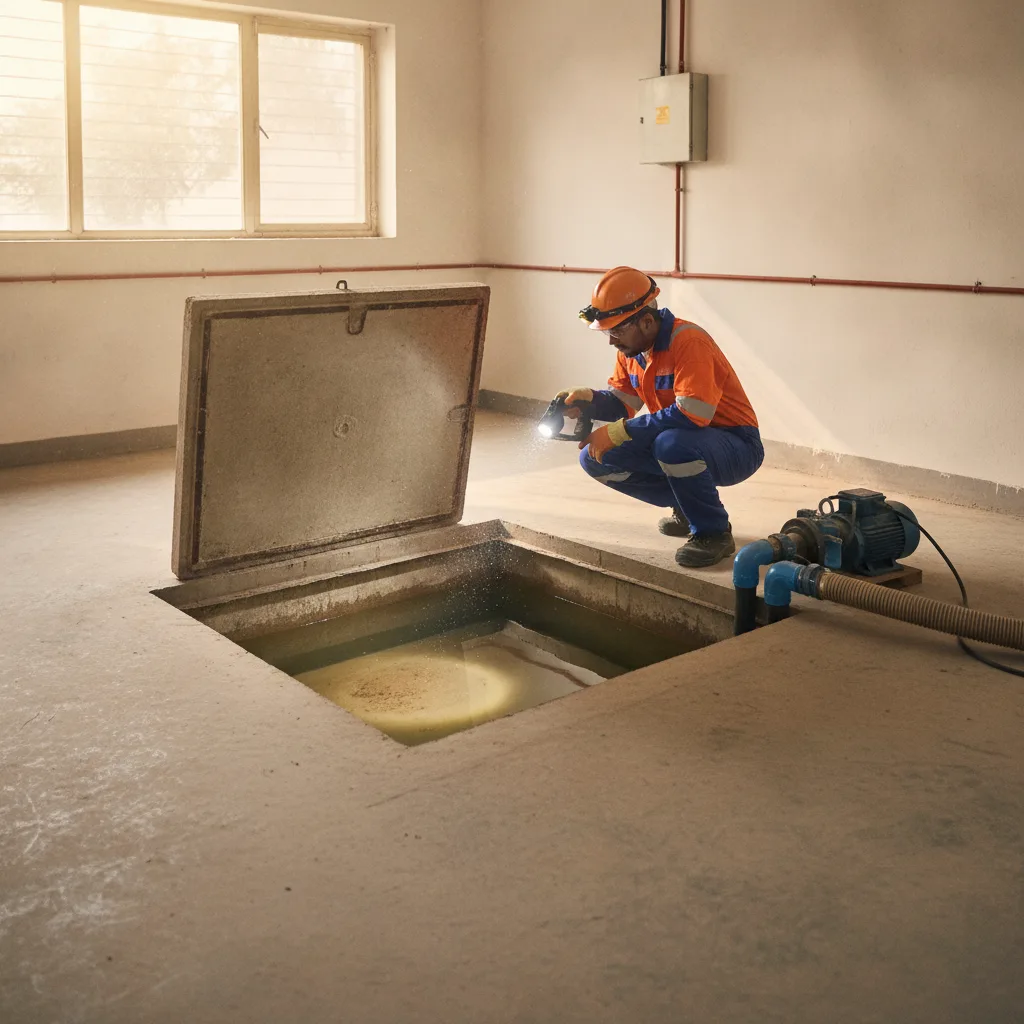
A competent technician checks the tank's condition first. Cracks, loose lids, rusted brackets, any sign the inlet pipe is sitting too close to the outlet (which causes short-circuiting of fresh water). This five-minute check decides whether it's a routine clean or something needs repair first.
What we're actually looking for
Hairline cracks matter because they let in groundwater during monsoon, which carries silt and sometimes sewage overflow in low-lying areas. A loose lid is worse than it sounds too. It's the main entry point for mosquitoes, lizards, and dust between cleanings.
Step 2: Draining the tank completely
The tank is drained using a submersible pump, not left to gravity-empty over hours. Full drainage matters because partial water left at the bottom dilutes the cleaning agents used later and hides sediment that's settled in corners.
- Submersible pump lowered to the lowest point of the tank
- Water pumped out to a drain, never back into the sump
- Residual sludge and standing water removed by hand with a wiper or squeegee
- Visible debris such as leaves, insects, or plastic bits bagged and removed
Step 3: Scrubbing the walls, floor, and lid
This is the part people underestimate. The inner walls get scrubbed with stiff brushes, sometimes a rotary scrubber for larger tanks, to physically break the biofilm layer off the surface. Chemical disinfectant alone won't lift it if it's not agitated mechanically first.
Hard water areas make this step longer. Calcium and magnesium in borewell water leave a chalky white scale on tank walls that needs extra scrubbing passes, sometimes with a mild acid-safe descaling solution before the final rinse.
Step 4: High-pressure jet wash
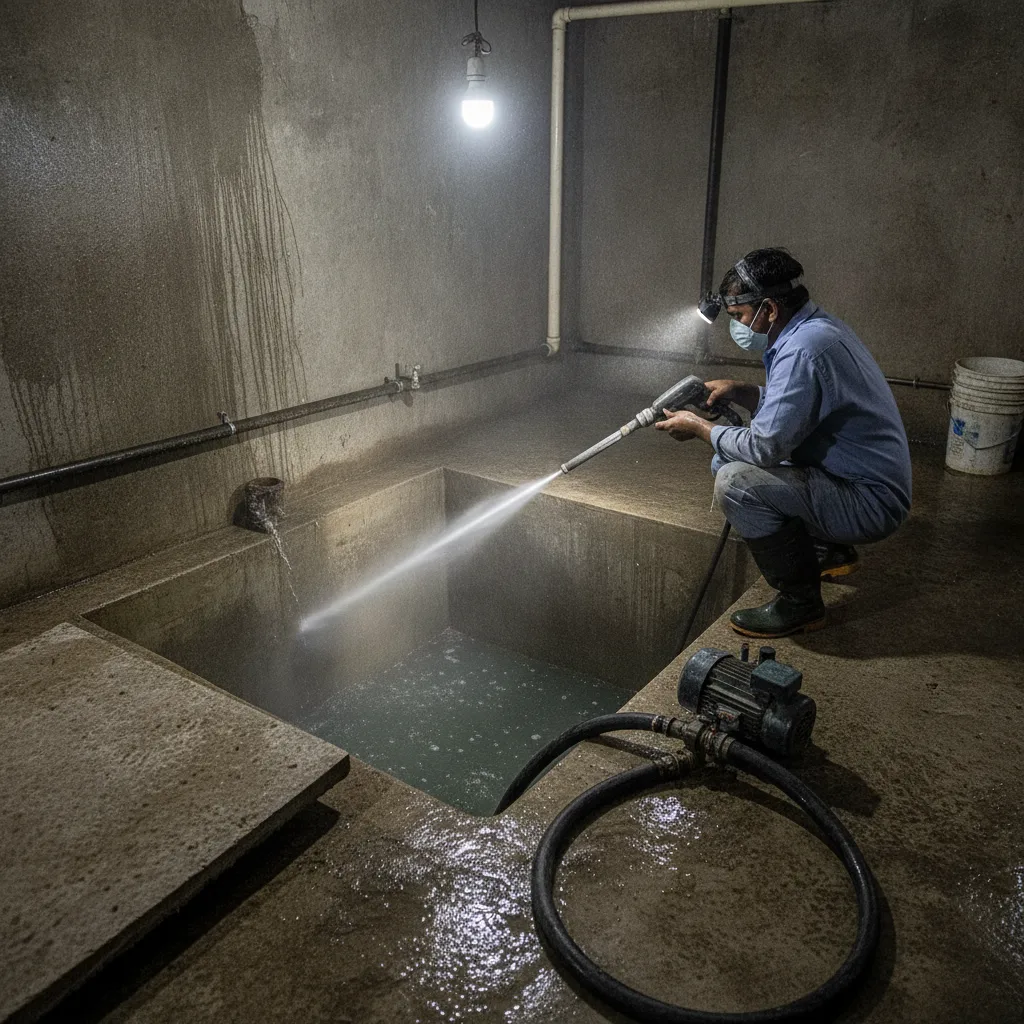
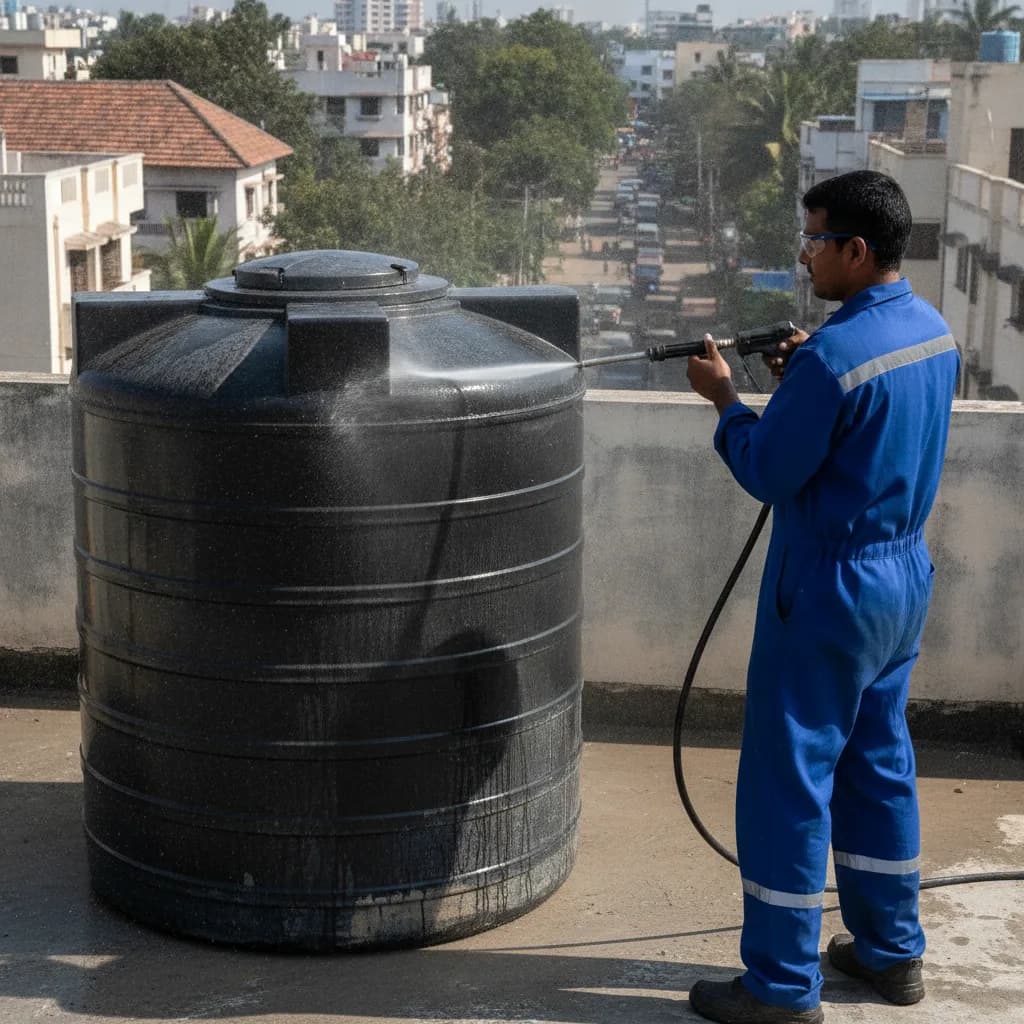
Once the walls are scrubbed loose, a high-pressure water jet clears every corner, including spots a brush can't reach like the underside of the lid and the joint where the inlet pipe enters the tank. This step alone removes most of what scrubbing loosened but didn't fully clear.
Step 5: Disinfection with an approved agent
A food-grade disinfectant, typically a diluted chlorine solution at safe drinking-water concentrations, is applied to the cleaned surface and left to sit for a set contact time before the final rinse. This kills residual bacteria the scrubbing missed. It is not the same as the heavy chlorine dosing municipal water treatment uses, so there's no lingering smell if it's done right.
Step 6: Final rinse and refill
The tank gets rinsed at least twice with clean water to flush out any disinfectant residue. Skipping this is the single biggest reason people complain about a metallic or chemical taste after a cleaning. A rushed job leaves trace chlorine in the tank that shows up the moment you refill and use the water.
| Step | What happens | Why it matters |
|---|---|---|
| Drain | Full pump-out of standing water | Prevents diluted cleaning agents |
| Scrub | Manual/rotary brushing of walls | Physically removes biofilm |
| Jet wash | High-pressure rinse of corners | Clears loosened debris |
| Disinfect | Food-grade chlorine solution | Kills residual bacteria |
| Final rinse | Double rinse before refill | Removes chemical taste/odour |
What a rushed job usually skips
In our experience, the corners get skipped first. Especially where the tank's inlet float valve sits, since it's awkward to reach and easy to just wipe past. The second thing that gets skipped is the double rinse, because it adds twenty extra minutes and most customers aren't watching the clock.
If your last cleaning left the water tasting slightly off for a day or two, that's almost always an incomplete rinse, not a health issue. Still, there's no reason to accept it as normal.
How often this whole process should happen
Overhead tanks need this full process roughly every 3 to 6 months, sooner if you're on borewell water with visible hardness or during monsoon when contamination risk from ground-level cracks goes up. Underground sumps can often stretch to 6 months if the tank is well-sealed and the area doesn't flood.
- Scrubbing, not just draining, is what actually removes biofilm from tank walls
- Hard water areas need extra descaling passes before disinfection
- A double rinse after disinfecting prevents that metallic or chemical aftertaste
- Full inspection before draining catches cracks and loose lids early
- Overhead tanks need this every 3 to 6 months, sumps can often go 6
If you want to see this whole process done properly instead of a rushed drain-and-wipe, it's easy to Book Water Tank Cleaning with a team that's been doing exactly this across Bengaluru homes for over 8 years.
Want this handled by professionals in Bengaluru? Book Water Tank Cleaning, or message us on WhatsApp.