What Happens During a Professional Water Tank Cleaning? Step-by-Step Process Explained

Most people assume tank cleaning means someone climbs in, splashes water around, and mops out the mud. That's not what actually happens, or at least not what should happen. A proper job follows a sequence, and skipping any one step is usually why a tank gets dirty again within two months instead of six.
If you've ever wondered what you're actually paying for, here's the real process, the same one our technicians follow on every job. Understanding it also helps you spot a shortcut being taken by a crew that's rushing through the work.
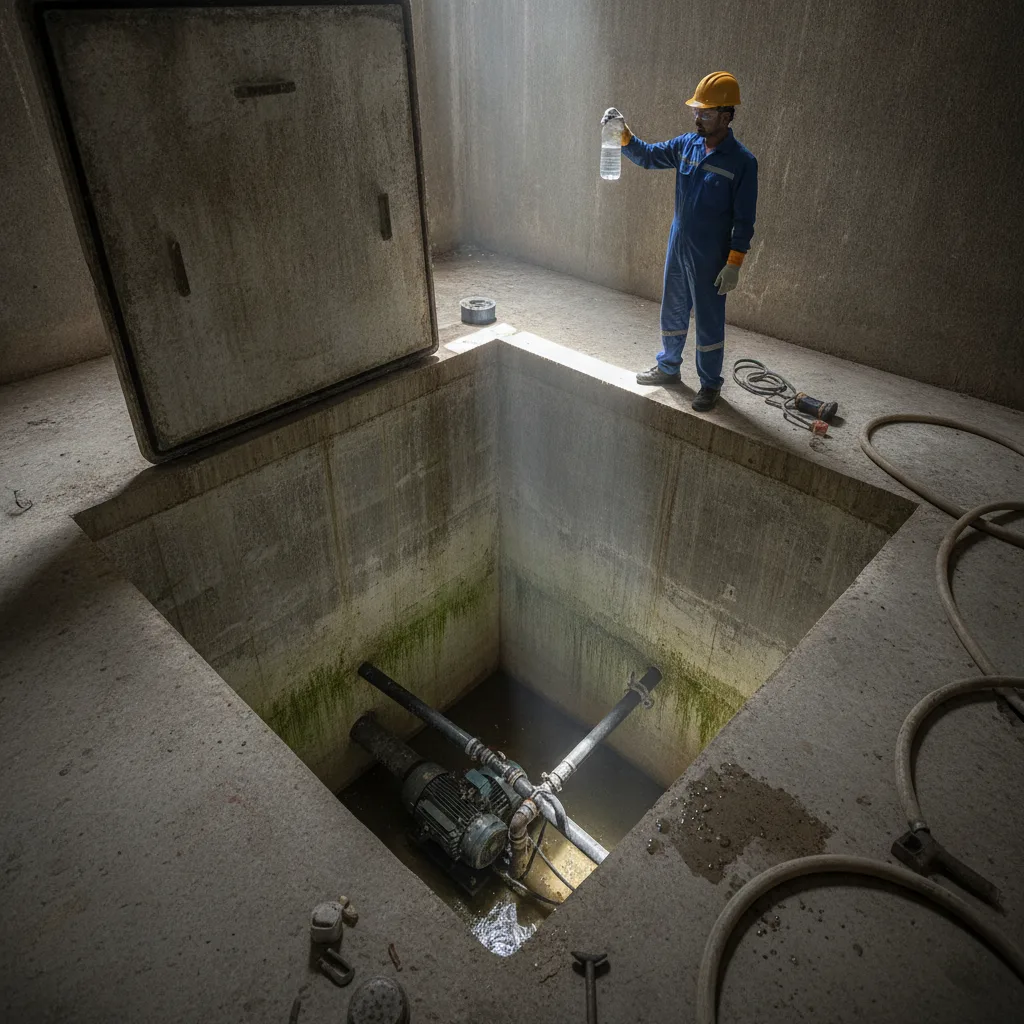
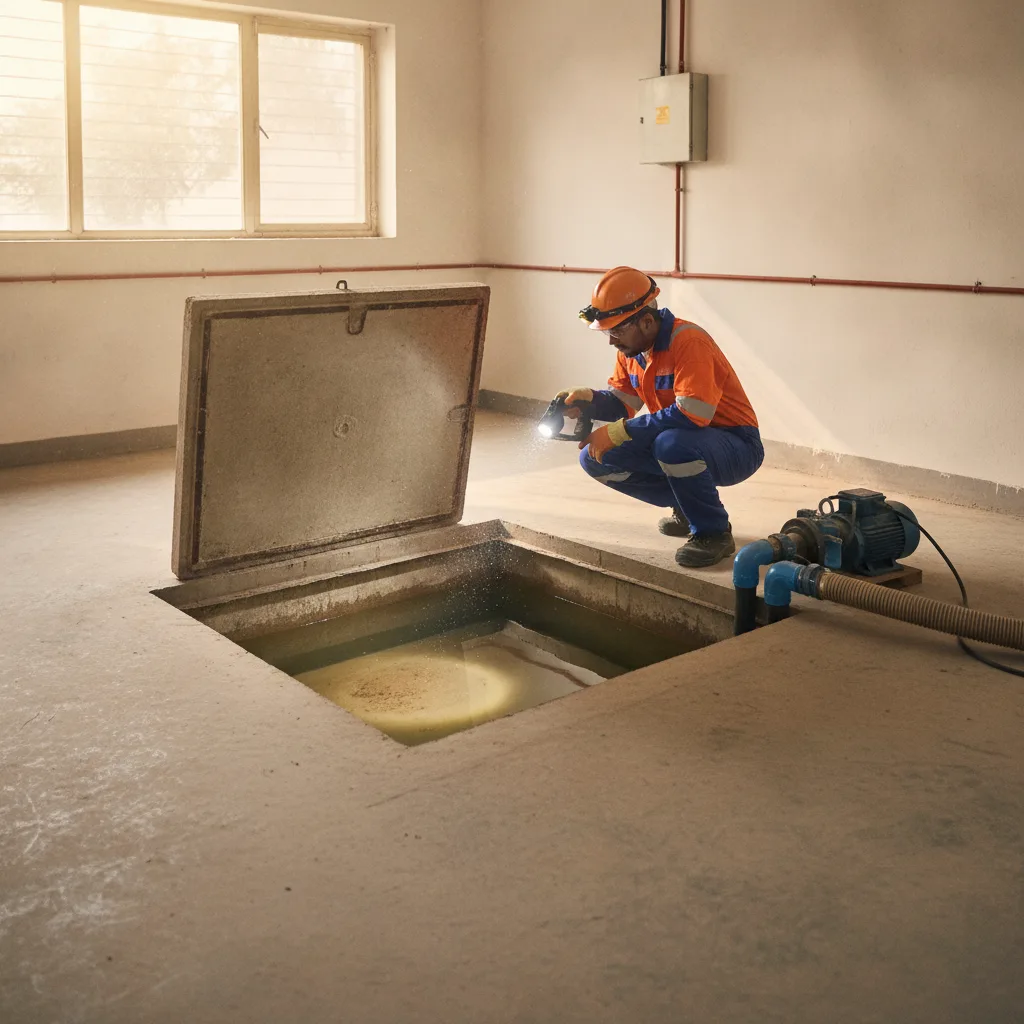
Before we get into the steps, it's worth booking a professional water tank and sump cleaning service rather than attempting this yourself. A full sump plus overhead tank can hold anywhere from 500 to 5,000 litres, and draining that much water safely without flooding a basement or shorting an electrical line takes equipment most households simply don't have.
Step 1: Shutting off supply and draining the tank
The first thing a technician does is switch off the motor and shut the inlet valve. This stops fresh water from mixing with the water about to be drained out, which sounds obvious but gets skipped more often than you'd think.
Draining itself is done through the tank's outlet or a submersible pump, never by tipping or siphoning by mouth (yes, some untrained cleaners still try this). For an underground sump, the water gets pumped out to a drain or open area away from the building foundation, so it doesn't seep back in through cracks.
Step 2: Removing sediment and sludge
This is the part people underestimate. Once the water is out, there's usually a layer of fine silt at the bottom, sometimes 1 to 3 inches thick depending on how long since the last clean and whether the water source is borewell or BWSSB supply. Borewell water carries more dissolved minerals, so sediment builds up faster and feels grittier, almost like wet sand, compared to the softer, darker sludge from municipal supply.
Sludge gets scooped out manually with a scraper or shovel first. Only after the bulk is removed does scrubbing begin, because trying to scrub through a layer of sediment just smears it across the walls instead of lifting it.
Step 3: Scrubbing the walls, floor, and corners
Tank walls develop a slimy biofilm, a thin layer where algae and bacteria grow, especially in tanks that get any sunlight or have a loose-fitting lid. This film is why the water sometimes smells faintly musty even when it looks clear.
Technicians scrub every surface with stiff brushes, paying extra attention to corners and the underside of the lid, which is the most-skipped spot in amateur cleaning. Overhead tanks made of plastic (the common black or blue ones) need a slightly softer brush than concrete sumps, since aggressive scrubbing can scratch the plastic and give algae more surface area to grip on the next cycle.
Why the corners matter more than people think
Corners and the tank's lid rim are where water sits stagnant even during normal use, because circulation from the inlet and outlet doesn't reach those dead zones. That stillness is exactly what algae and bacteria need to establish themselves, so a clean that skips corners looks fine on day one and smells off by week three.
Step 4: High-pressure rinse
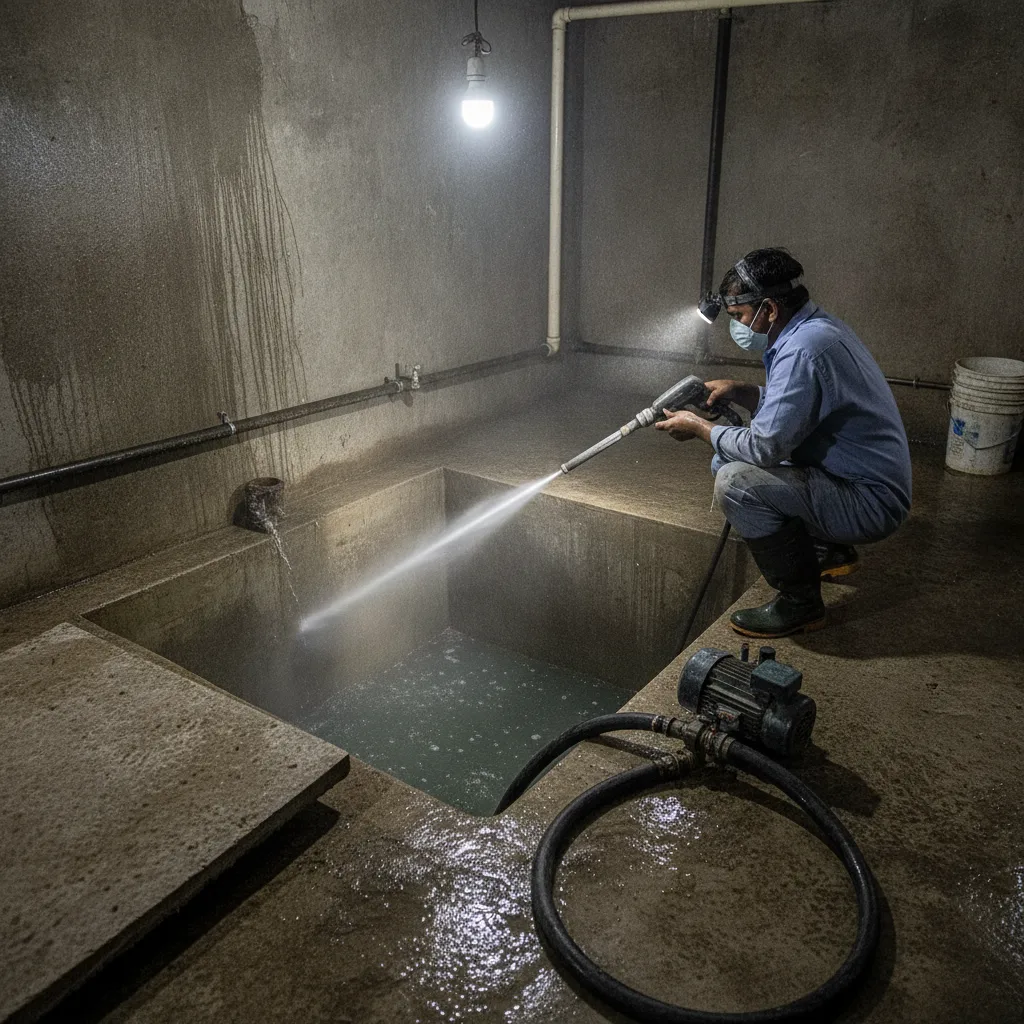
Once scrubbing is done, the whole tank gets rinsed with a high-pressure jet, which flushes loosened grime toward the outlet instead of leaving it to resettle. This step also rinses out any residue from cleaning agents used in the previous step.
A single rinse usually isn't enough for tanks that hadn't been cleaned in over a year. In those cases, we do two passes, checking the runoff water each time until it comes out visibly clear rather than cloudy.
Step 5: Sanitising and disinfection
This is the step that actually protects drinking water quality, not just appearance. A safe-for-potable-water disinfectant, usually a measured chlorine solution, gets applied to the interior surfaces and left to sit for a set contact time, typically 20 to 30 minutes, before final rinsing.
Get the concentration wrong and you either leave bacteria behind or leave chlorine residue strong enough to affect taste. This is the one step where DIY attempts go wrong most often, since household bleach isn't dosed for tank-scale surface area.
Step 6: Final rinse and refill
After disinfection, the tank gets rinsed thoroughly one more time to clear any remaining chemical residue, then the inlet valve is reopened and the tank left to refill. We usually recommend running the first flush of water through taps for a couple of minutes before using it for drinking, just to clear the pipeline itself.
- Shut off supply and drain the tank completely
- Remove sediment and sludge manually
- Scrub walls, floor, corners, and the lid underside
- High-pressure rinse to flush loosened grime
- Apply disinfectant and allow contact time
- Final rinse, then refill and flush the pipeline
How long does the whole process take?
For a standard residential overhead tank (500 to 1,000 litres), the full process takes 45 minutes to an hour. An underground sump, especially in apartment complexes with 3,000+ litre capacity, can take 2 to 3 hours because draining and refilling simply takes longer at that volume.
Monsoon months tend to add time to the drying and disinfection stages, since ambient humidity slows evaporation of rinse water in enclosed sumps. We factor that into scheduling between June and September rather than rushing the contact time to finish faster.
- Sediment removal always happens before scrubbing, never the other way round
- Corners and the lid rim need deliberate attention, not just a quick pass
- Disinfectant needs proper contact time, usually 20 to 30 minutes, to actually work
- Borewell water tanks tend to need cleaning more often due to heavier mineral sediment
- A full sump clean genuinely takes hours, not minutes, if done right
If your tank hasn't been touched in the last six months, it's probably due. Our team at KBS has been running this exact process across Bengaluru homes for eight years now, and Book Water Tank Cleaning is the quickest way to get a technician out to check yours.
Want this handled by professionals in Bengaluru? Book Water Tank Cleaning, or message us on WhatsApp.